User Persona Creation
Stakeholder-facing personas from research you already have. Do not invent demographics. Prefer Behavioral Persona From Research after affinity or insight statements; use this only when the room still wants a named persona card.

Prompt
Create detailed user personas based on the following research data:

[Paste research data: interviews, surveys, analytics, user observations]

For each persona, include:

1. Persona Overview
   - Name and photo/avatar description
   - Demographics (age, location, occupation, education)
   - Quote that captures their essence
   - Role and responsibilities

2. Goals and Motivations
   - Primary goals (what they want to achieve)
   - Secondary goals
   - Motivations (why these goals matter)
   - Success criteria

3. Pain Points and Frustrations
   - Current pain points
   - Frustrations with existing solutions
   - Barriers to success
   - Emotional responses

4. Behaviors and Habits
   - How they currently solve problems
   - Tools and platforms they use
   - Information consumption habits
   - Decision-making process

5. Needs and Expectations
   - What they need from a solution
   - Expectations and assumptions
   - Desired outcomes
   - Must-have vs. nice-to-have features

6. Context and Environment
   - When and where they use products/services
   - Physical and digital environment
   - Constraints and limitations
   - Influences and influencers

7. User Journey Touchpoints
   - Key moments of interaction
   - Emotional state at each touchpoint
   - Opportunities for improvement

Format as detailed, realistic personas with specific details and quotes from research.
How to use
- 1Run Affinity Mapping Assistant and Behavioral Persona From Research first. Only use this prompt if you still need a traditional persona one-pager. Never let the model invent age, job title, or quotes.
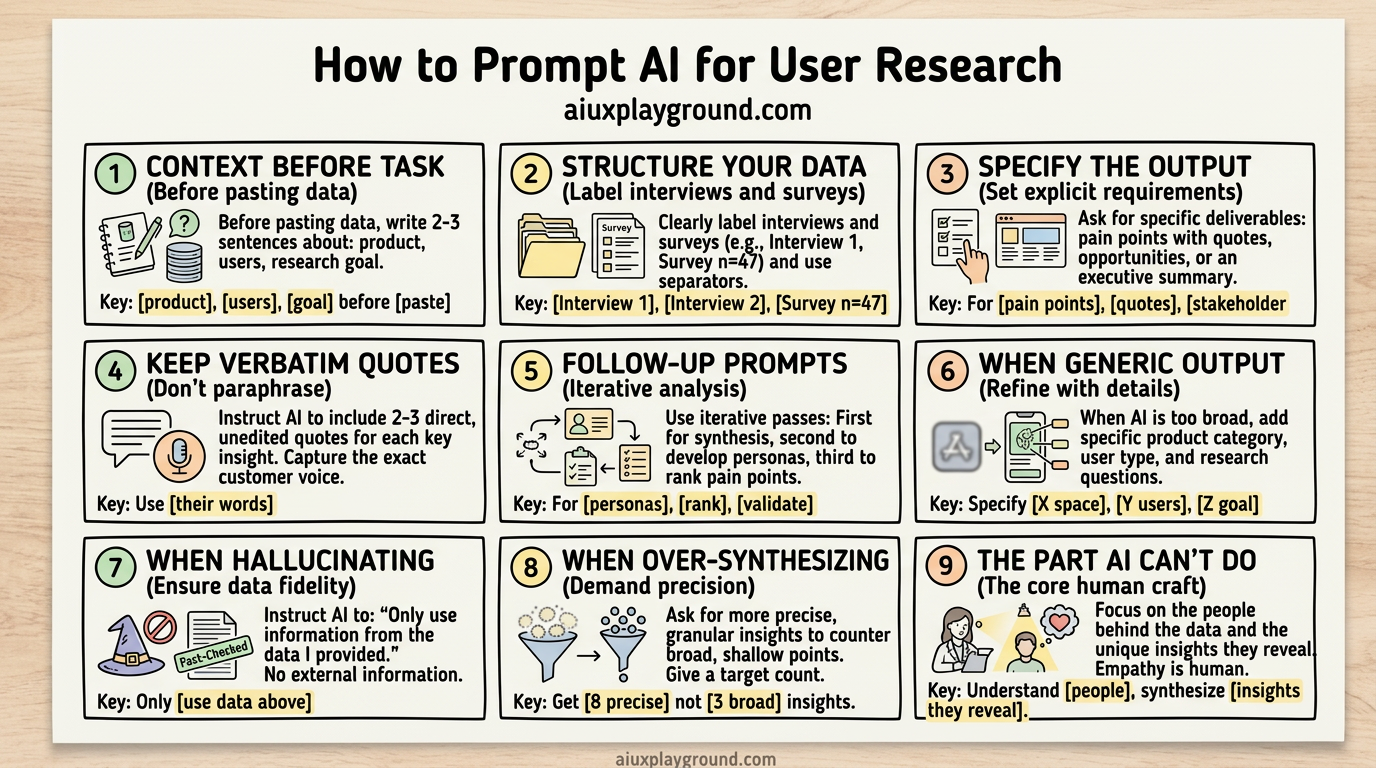
- 2Organize your research data: Collect interview transcripts, survey responses, analytics insights, or user observation notes
- 3Replace [Paste research data] with your organized data. Format: "Interview 1: [transcript]" "Survey responses: [data]" "Analytics insights: [findings]"
- 4Add context before the prompt: Describe your product and research goals. Example: "We're a B2B SaaS tool for project managers. Research goal: Understand how users manage multiple projects. Interviews: 10 participants."
- 5If you have existing personas: Paste your current personas. Say "Update these personas with new research: [paste personas] and [new research data]"
- 6Paste the modified prompt into your preferred AI tool, like ChatGPT or Claude (preferably with longer context if you have large datasets)
- 7Review the generated personas: Check demographics, goals, pain points, and behaviors
- 8Ask for refinements: Request "Create 2-3 personas from this data" or "Focus on primary vs secondary personas" or "Add more behavioral details"
- 9Export to your design tools: Copy personas to Figma, Miro, or your design system documentation
- 10Share with team: Use personas to align team around user needs and guide design decisions
Pro Tips
- • Include real user quotes: Paste interview quotes verbatim so personas feel authentic and grounded in research
- • Specify persona count: Mention "Create 2 primary personas" or "Create 3 personas (primary, secondary, edge case)"
- • For quantitative data: Include survey statistics (e.g., "80% of users said...") for data-driven personas
- • Request persona comparisons: Ask "Show differences between these personas" to identify unique needs
- • Save personas as templates: Reuse structure for future research by asking "Use the same format but for [new research]"
- • For behavior-first personas (JTBD, mental model, needs vs wants, no invented demographics), use Behavioral Persona From Research in Research.